Even the best-looking kitchen cabinets can fail if they are not installed at the right height. It’s so important to determine proper installation height for cabinets, otherwise you risk shortchanging the entire look, feel and longevity of your kitchen remodel.
Determining cabinet installation height includes taking careful measurements, leveling and taking any special circumstances into consideration. If your kitchen is more complicated in regards to size and available space, it might be worth it to have custom cabinets made to fit with your available wall space.
Proper cabinet height depends upon the type of cabinets you are installing.
Standard Base Cabinets are between 34 ½ and 35-inches tall, this does not include the countertop, island, etc. Most floors are not level but cabinets must be level. In order to ensure they are, take measurements up the wall from the highest point on the floor. Leveling is accomplished by placing shims beneath cabinets. In regards to kitchen islands, place a level along the top and use shims.
Special Base Cabinet Heights are used in homes that require taller or shorter base cabinets than usual. Depending on the reasoning for special cabinets, the right height will vary. For instance, wheelchair accessible cabinets are often positioned at 28-inches. Measuring from the user’s elbow down to the floor can identify the best countertop height. Once you identify this number you can then find the perfect cabinet height.
Upper Cabinets may or may not meet the ceiling. You will determine the right height by factoring in how much space is needed between the lower and upper cabinets. Generally, this is around 18 inches. If you need extra space, custom made cabinets can be manufactured to sit right up against the ceiling. Stock cabinets can achieve the same look by simply adding molding. Some cabinets are made smaller than others to accommodate the fridge or other appliances. In order to create a fluid appearance, match shorter cabinets with the tops of other cabinets in the kitchen.
How To Properly Install Kitchen Cabinets At The Right Height
Tools You’ll Need
-4” level
-Stud finder
-Tape measure
-Screw gun
-Pencil
-Clamps
-Ready-to-install cabinets
-Wood shims
-1-1/2” screws
-1×2 ledger board
The first step is to measure and mark the wall. Start by measuring the actual height of your base cabinets. Stock cabinets generally run around 34-1/2” high. Make sure to factor in an extra 1-1/2” for your countertops and 18-inches for a standard backsplash. If you are taking a backsplash into consideration the total measurement from the floor to the bottom of the upper cabinets should measure 54-inches.
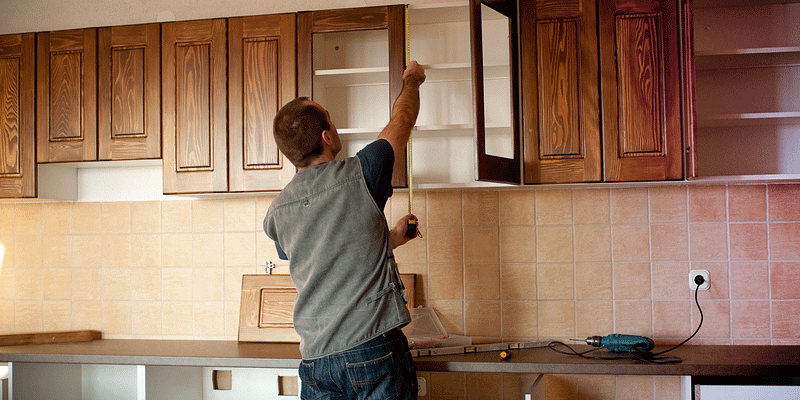
Use your pencil to mark a line clear across the wall at the 54-inch mark. Use a level to ensure your line is completely straight. This will serve as your guideline for hanging even cabinets.
Next, use a stud finder to locate wall studs. You must find the wall studs in order to hang cabinets that are sturdy and properly supported. Beware that in the process you don’t interfere with any electrical wiring or plumbing.
Hang a ledger board along your pencil-drawn line using the studs you’ve pre-located. This serves as a temporary support system you’ll need to install cabinets throughout the installation process.
Remove all doors and hardware from cabinet boxes. Carefully mark all pieces so that it’s easy to put them back where they belong when the time comes. Taking off cumbersome accessories makes cabinets lighter and installation much easier.
Now comes the time to hang the wall cabinets. Attach cabinets together in regards to how many you can safely and confidently lift and install at one time using the ledger board, typically no more than 2. Use your clamps to fix the stiles and check to make sure that the cabinets are flush. You will attach the two cabinets together at the stile using screws. Use one screw at the top and one screw at the bottom where the cabinets join together. Once cabinets are secured, lift them on top of the ledger board. Check for plumb and level, shim if needed.
Secure cabinets to the wall using predetermined studs, but only after you are positive that cabinets are level. If there is a gap between the wall and the last cabinet you will need to fill it using a filler bar. Prior to installing the last cabinet you’ll need to measure, mark, cut and affix the filler bar.
Add cabinet doors and hardware back on. Once cabinets are completely secured and installed it’s time to remove the ledger board and add the hardware and doors back on.