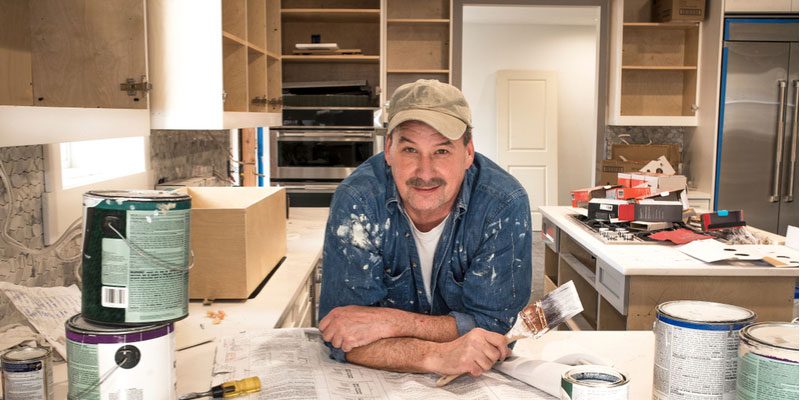
Want to update your kitchen, but simply don’t have the budget to replace all your cabinets or create a new footprint in your space. Consider painting your cabinets for a fresh new look you can love. Paint can deliver an updated style and bring your kitchen forward into the 21st Century regardless of its initial era.
This is a job you can take on yourself, but should you feel ill-equipped for the task or simply lack the time to get the job done, call on the experts to refresh your cabinets with paint. There are several items to consider before you begin the job.
Check the Cabinet Condition
Before making the decision to paint, you should examine your cabinets to ensure they are in good, sound condition and can be refurbished by painting. If they are chipped badly, have cracks, or have suffered from water damage, you may want to choose replacement over refreshment. The same holds true if your cabinets no longer provide your family with the function and storage needed. Once you determine if your cabinets are in good shape, still performing properly, and without damage, you can prepare to refresh them with paint.
Choosing your Color
Your kitchen is not only the gathering place for those in your home, but also a room that serves many functions and is well used. Knowing this, it is important that the color you choose welcomes those who enter your kitchen while providing a clean look and coordinating with the rest of your home. In selecting your paint color, you can’t go wrong with classic neutrals, like white, gray, or beige. Of course, if you want your color choice to reflect your personality, a bit more color may be in order. Consider using your color choice in a single area, like your kitchen island, so as not to overwhelm the room or cause you to tire of it quickly. If you can’t choose, two colors are an excellent option that is tending right now. Just remember to choose colors which complement one another and always use the darker color on cabinet lowers and the lighter color on uppers.
Choose a premium quality primer and paint for your cabinets. Now is not the time to go with a low quality paint. Although the costs are higher, a first quality paint will be able to withstand all the wear and tear that comes to kitchen cabinets on a daily basis.
Getting the Job Done Right
Before you begin your cabinet painting project, remind yourself that this DIY project will save you money, but will cost you time. Ready to get started?
Step 1 – Put drop clothes are cardboard over your kitchen floor, you don’t want paint drips or spills to damage your floor.
Step 2 – You will need to remove the cabinet doors and drawer fronts (don’t skip this step). Take off hinges, latches, and knobs, keeping everything neatly organized, after all you will need to put it all back when the painting is done. (Numbering your drawer fronts and doors is any easy way to keep it all straight.)
Step 3 – Before the painting begins, clean doors, drawers, hinges, knobs, latches, everything.
Step 4 – Once clean, sand your doors, drawers, cabinet faces and sides with fine sandpaper. Once sanded, wipe everything clean and then vacuum the remaining dust. Remember you don’t need to sand to bare wood, just create a rough service to which the paint can adhere.
Step 5 – Begin painting the first coat – a primer/sealer combination – to ensure the paint will adhere to the wood. This will help cover dark wood if you are going to a lighter color. After the first coat dries, apply a second coat if needed. Sanding lightly between coats will improve appearance and adherence.
Step 6 – Paint the first coat of paint with a brush. Apply the second coat with a foam roller to hide brush marks. If your budget allows, use a profession spray gun for the best appearance.
Step 7 – When completely dry, reinstall doors and drawers putting everything in its proper place.
Step 8 – Enjoy your fresh new look!

